Six Small Light Experiments to Train Your Eye for Everyday Photography
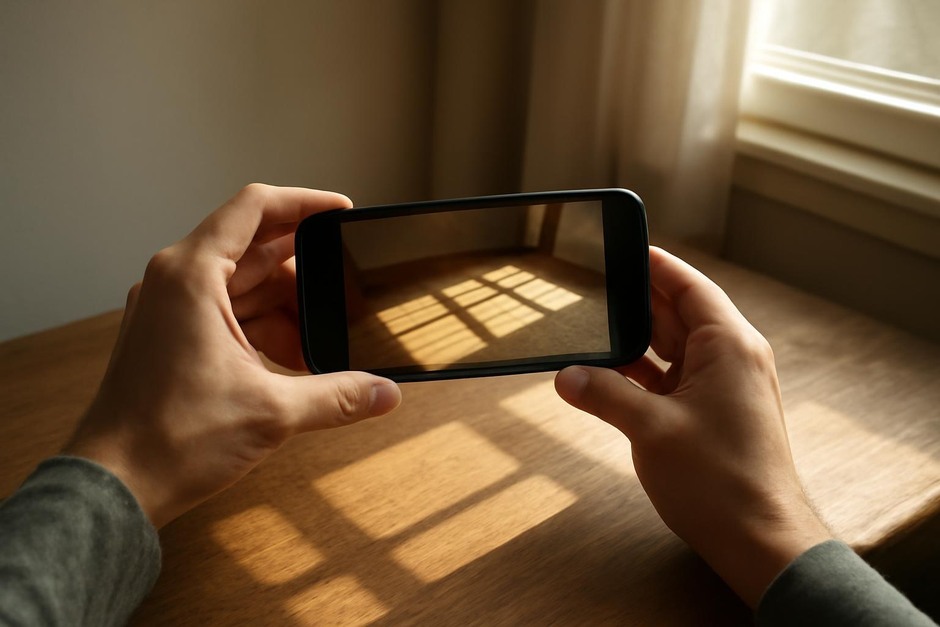
Why focus on light?
Light is the single most powerful element in a photograph: it defines shape, sets mood, creates depth, and directs attention. Rather than memorizing rules about composition or exposure, a short, repeatable routine that trains you to notice and respond to light will pay dividends across subjects—from quick street snaps to still-life pictures at the kitchen table.
How to use these experiments
Each experiment below takes 10–20 minutes and uses any camera. Do them in sequence over a week or repeat one a day for a month. The exercises build on one another: start by noticing, then practice control, then combine choices into deliberate pictures.
Experiment 1 — Catalog the light types (Observation)
Principle: The first step is to learn the vocabulary — hard light, soft light, backlight, sidelighting, flat light.
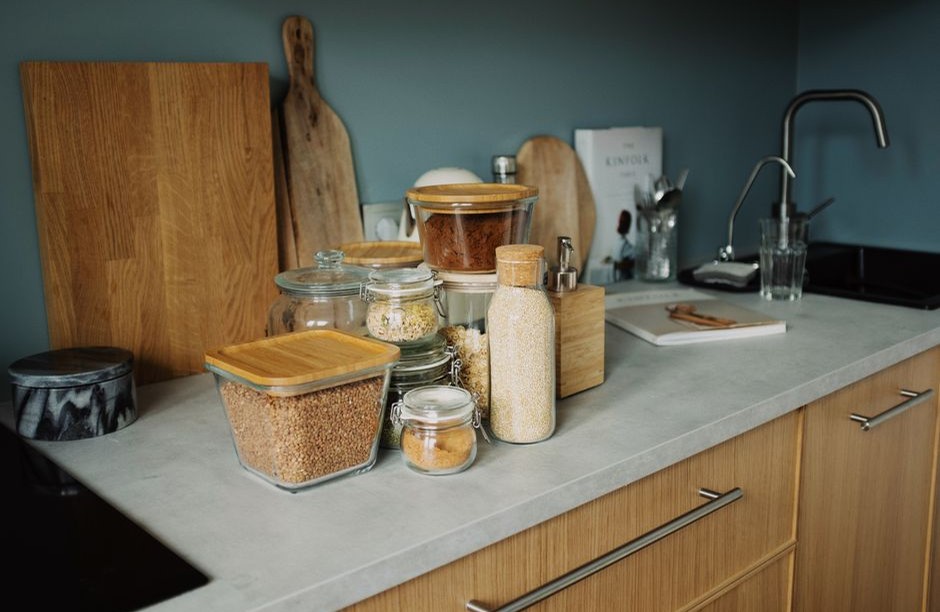
- Spend 10 minutes in a single room and take five photos of the same small scene (a mug, a plant, a stack of books) from the same angle but at different times or with different curtains/openings. Label each shot with the word that fits: “soft,” “hard,” “backlit,” etc.
- What to look for: hard light makes strong shadows and contrast; soft light smooths texture and reduces shadow edge; backlight creates glow and silhouette.
Experiment 2 — Short silhouette study (Backlight)
Principle: Shooting toward the light simplifies forms and emphasizes outline and shape.
- Find a window or a low sun. Place a person, plant, or object between you and the light source. Expose for the bright background to turn the subject darker.
- Try two variations: expose for the background to silhouette, then expose for the subject to keep a rim of highlight. Notice how each choice changes the story.
Experiment 3 — Texture with side light (Tactile depth)
Principle: Side light reveals surface texture and creates three-dimensionality.
- Choose a textured object—bread crust, woven chair, weathered wood—and photograph it with light coming from roughly a 90-degree angle to the plane of the subject.
- Move the camera up and down to see how shadow length changes texture. Take notes on which distance and angle best express the material.
Experiment 4 — The golden hour mini-session (Color and mood)
Principle: Warm, low-angle light changes color and softens contrast in a way that reads as calm or intimate.
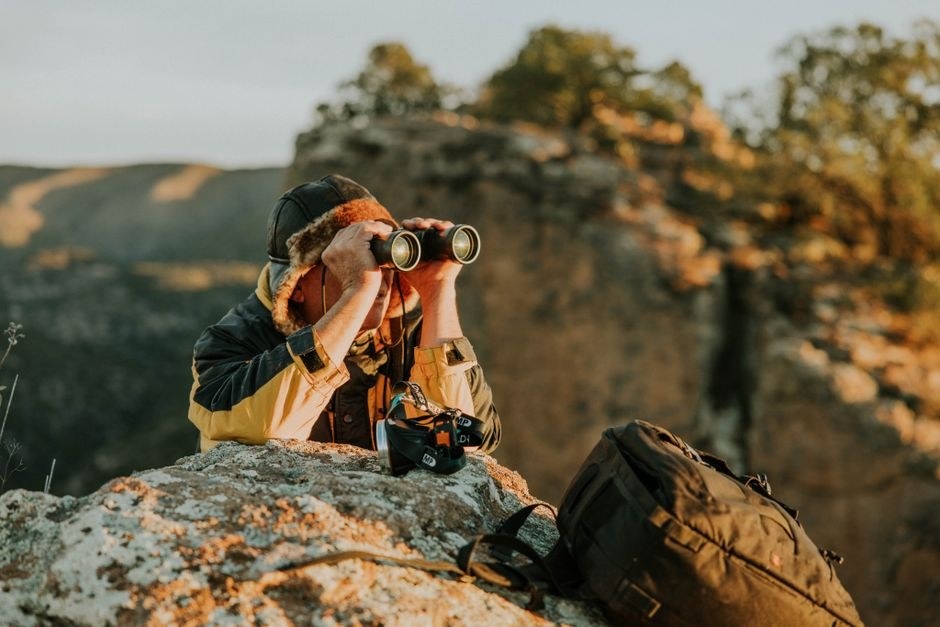
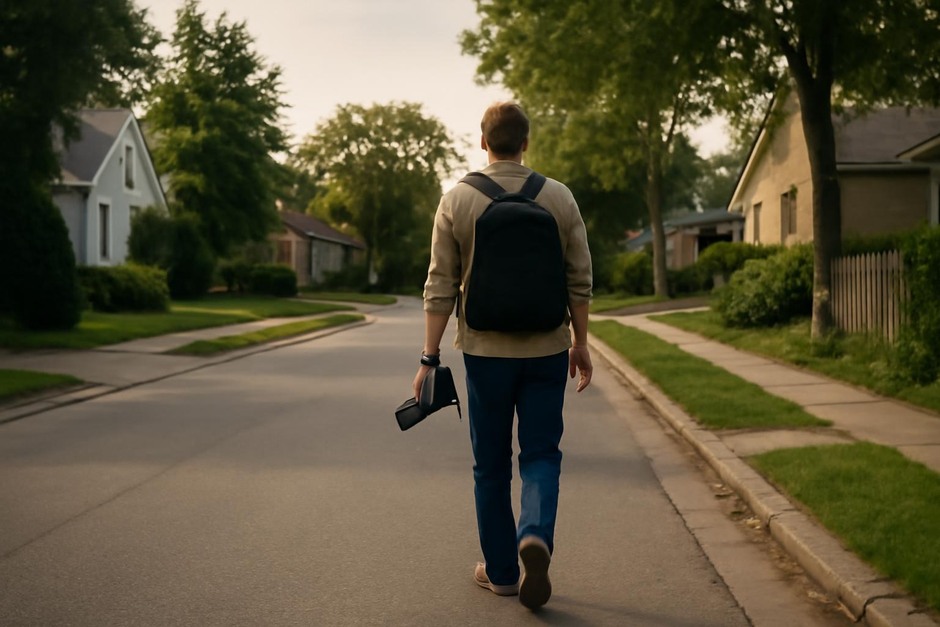
- Plan a 20-minute window shortly after sunrise or before sunset. Shoot the same three subjects you encounter—an empty street, a doorway, a tree—and notice how warm light alters color and shadow.
- Try framing with and without sky in the frame; the presence of warm sky often gives a softer background and lifts skin tones.
Experiment 5 — Window portraits (Directional control)
Principle: A single extended light source (a window) is easy to shape and yields flattering results for faces and objects.
- Stand near a window with diffused light. Place your subject so the light grazes their face from one side. Take three frames: full face, three-quarter, and profile.
- Then add a simple reflector—white paper or a pale wall opposite the window—to bounce light back and compare. Which look feels more natural or intimate?
Experiment 6 — Low-light patience (Seeing in dark)
Principle: Low light asks you to slow down and make choices about exposure, motion, and ISO; those choices shape mood more than perfect sharpness does.
- Find a corner of the home or a street at dusk. Take a series: one handheld at higher ISO, one steady with a support for a longer exposure, and one with accent lights (lamp, candle).
- Compare the emotional tone of each approach: grainy handheld can feel immediate; long exposure can feel calm and painterly; accent lights give focal points.
Bringing it together
After the six experiments, pick three favorite images and write one short note for each: what type of light it is, why it works, and one small change you would make next time. The goal is not perfection but a growing instinct: when you see a scene, you quickly know which light quality to look for or create. Repeat these exercises monthly and you’ll find you notice light before you raise the camera.
Small, focused practice builds a dependable photographic eye. Light is always there—these short experiments help you learn to use it.